Cell Net+ proudly presents amazing value for your money.Now you can renew your Samsung Galaxy S4 Screen at very low price by using our complete professional screen repairs kit .
Package Contents
1. 1 x Samsung Galaxy S4 (I9500/I9505) front Replacement glass (Black)
2. 1 x Specialized 8 pcs tool kit
3. 1 x Plastic razor Blade
4. 2 x Large Lint free lens polishers
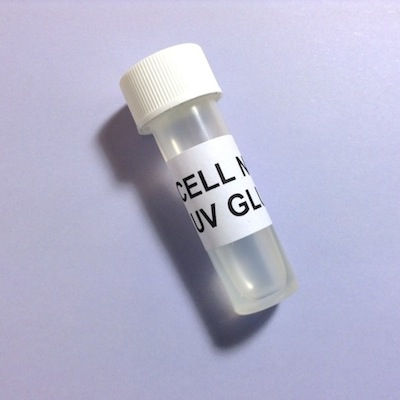
5. 1 x Specialized Premium UV glue (4 ml packing). This glue can be dried in sunlight (30-45 Mins apprx)
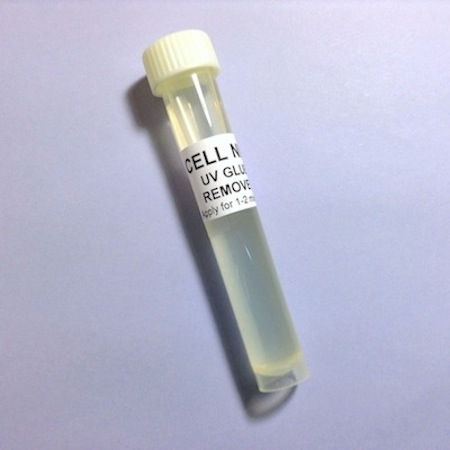
6. 1 x Specialized glue remover (10 ml packing)
7. 1 x Full size specialized Double sided Adhesive
8. A Specialized metal Blade. This is an excellent tool for cleaning the lcd before bonding new glass on.Use gently after dipping it in the glue remover (provided) to avoid scratches.
What's New Inside ?
We have introduced UV glue and lcd cleaner (glue remover) in this pack of amazing value.
1. Our Specialized UV Glue
A premium quality UV glue 4 ml packing is included in the package to conduct your screen repairs professionally.It brings excellent display results same as those of original screen.It can either be dried in sunlight or by using a UV torch (You can find it for 4-5 quids on eBay)
A specialized cleaning liquid (called UV/ Loca glue Remover ) is also included in our repair kit. It comes with 100% results. Its usage is quite simple, just apply it on the screen throughly and leave the screen for 1-2 minutes. A spare tooth brush can be an excellent tool for this application. Afterwards simply use the razor blades (provided with the tools) to clean the screen and finally lint free lens polishers to dry the lcd completely.
This tutorial has been presented in 2 simple steps for better understanding.
Part 1: Screen Disassembly
Part 2: Separating the Broken Glass and Bonding the New Glass.
Your Broken S4 may look like this

Open the back lid and take out the followings ;
1. Battery
2. Sim card
3. Memory card

Open all screws highlighted by red circles below

Now use this plastic tool (Provided in the kit) to separate the back housing of the phone.You can use your thumb nail as well for this job.Take your time and it will come off.


Detach all the flex ribbons highlighted by red squares.Yellow circle shows a small black screw . open it and the main board will come out.See these images;


Now look at the yellow squares in the image below; They highlight 4 parts;
1. Hands-free port ( yellow square top right-hand side). There is also a tiny screw holding the hands-free port highlighted by a red circle in the image below. Open it and hands-free port would come out.
2. Black Metal cover to hold front camera and sensor (Yellow square top left-hand side) It has small clips/legs to hold it and is easy to take out.Note that the front camera and sensor under this cover do not have any screws themselves. Only this metal cover holds them.
3. Vibration Motor ( 2nd yellow square on left) sticked by a small sticker under it.
Take out all of them gently as shown in these images below


You will see a silver colored metal cap to hold the charging unit (see the green part at the bottom of the phone in images below). This metal cap is also fitted with the help of left and right clips/legs.
 \
\

Part 2 of this tutorial has been explained with the help of a video tutorial and 5 simple images.
At this stage, keep 2 key principles in your mind;
1. Be patient
2. No use of power - Just Technique
.Use play cards that are strong enough to bear resistance.
.You need hot air gun(preferably) or Hair Dryer for this job.
Digital thermo-meter (used in this video) is NOT necessary. You can use finger tips of your left hand while holding the hot air gun or hair dryer in your right hand. Heat up the screen to a level where you could not place your finger tips on it for more than 1-2 seconds. If you feel that it is still hard to insert the card between the broken glass and screen, give some more heat. Avoid using power here and Don't heat it up to its boiling point. The broken glass would start coming off. Completely remove it and then clean the screen with the help of the glue remover provided.Now we will bond new glass on the screen.
Bonding New Glass
To get the best possible display results, UV glue is used to bond the new glass on the screen. The UV glue is applied in a particular pattern on the screen . There are a number of different patterns However we have shown the best one below, based on our experience. Here don't forget to remove bubbles or dust particles from the glue or screen,if any. See these images;

- .


- Our UV glue can be dried in sunlight . Approximate time is 30-45 mins. Alternatively UV torch can be purchased really cheap from eBay
- (for 4-5 quids). With UV Light, Drying time of the UV glue is around 5-10 mins.